1
Step 1
Open Designers
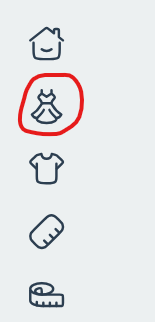
Start on the home page and click the Designers icon to browse available makers.
Walkthrough
A fitting bodice is a good way to get started with SewJazz. It's a medium-level project. Fitting bodices are only used to check your measurements, so you make them with low-cost muslin fabric and use the simplest stitching. This walkthrough will take you through a fitting for designer Leena Lähteenmäki's Women's collection. All of the patterns in the collection are based on the same fitting rule, so once you have tested and saved your measurements, you can use them to run any of the designs in the collection.
Leena's bodice patterns can be used both as fitting shells, and as slopers or base patterns for your own designs. Unlike plain slopers, these are custom-made to measure. The bodice pattern is free. You can run it as many times as you like, and compare different measurements.
Follow these screens to go from designer selection to a printable bodice pattern. Pair this with the "how it works" checklist on the home page for measurements and fitting.
Step 1
Start on the home page and click the Designers icon to browse available makers.
Step 2
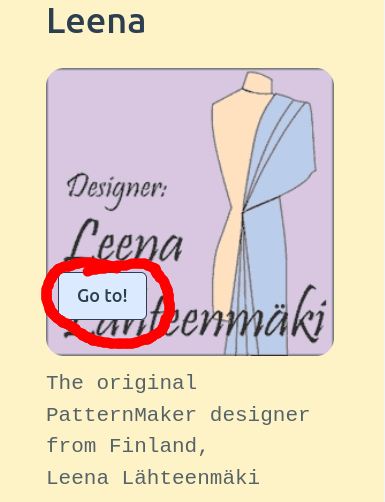
Pick Leena to load that catalog.
Step 3
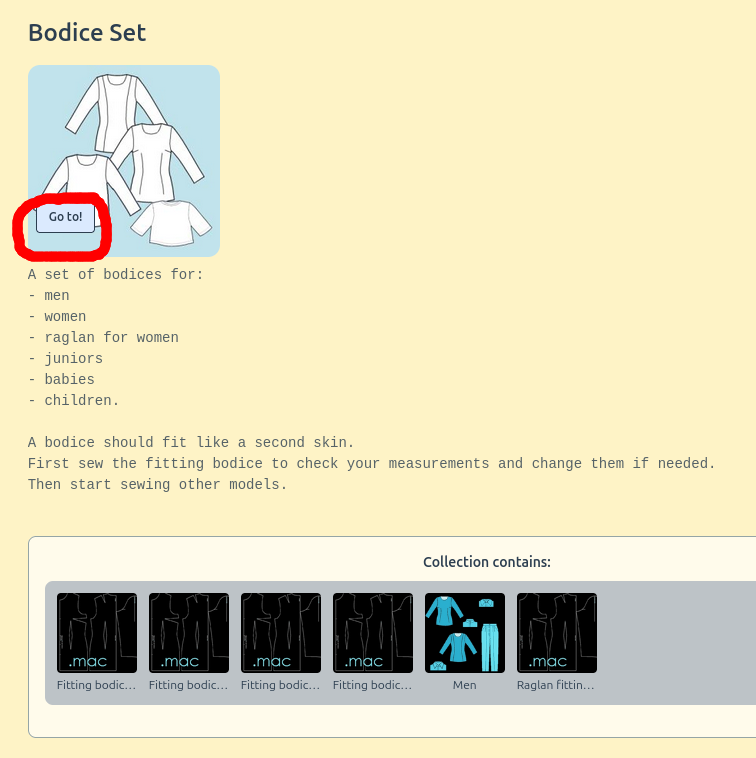
Choose Bodice Set.
Step 4
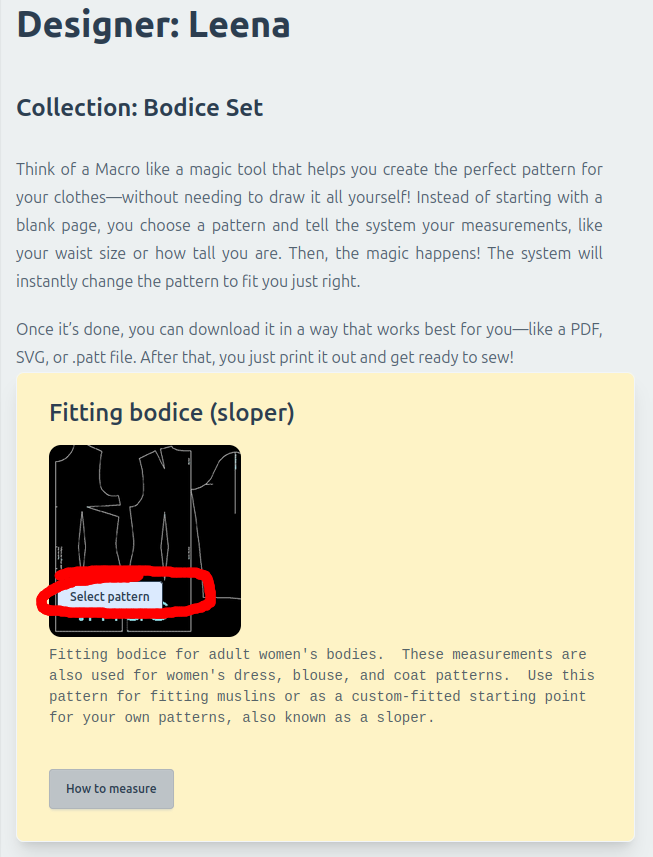
The collection has many patterns. Choose "Fitting bodice (sloper)". There's also a link to instructions for creating a Measurement Table--skip it for now.
Step 5
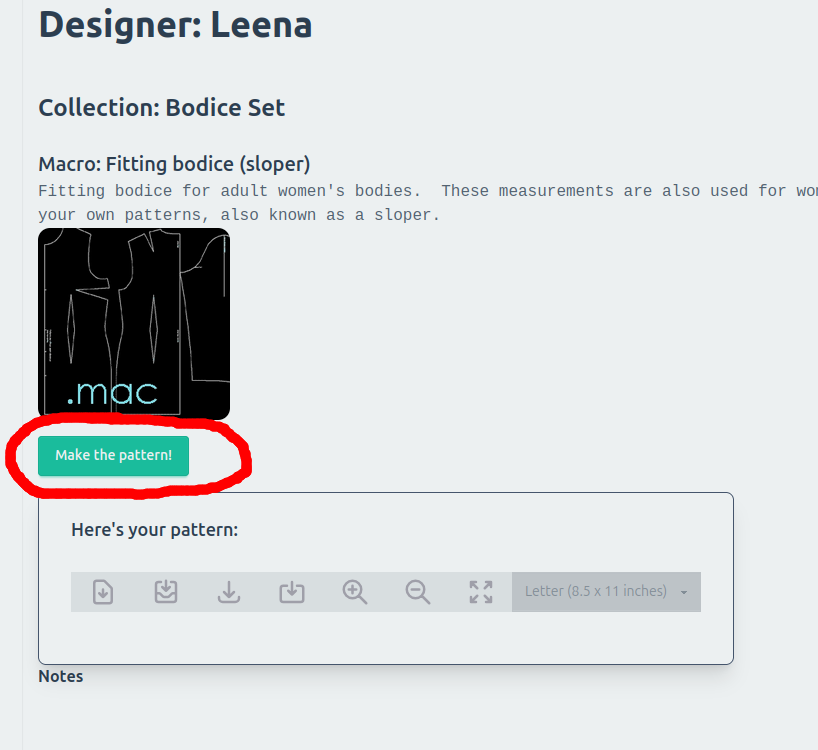
This is the pattern page, but the pattern isn't created yet. Click "Make the pattern!" to start generating your bodice.
Step 6
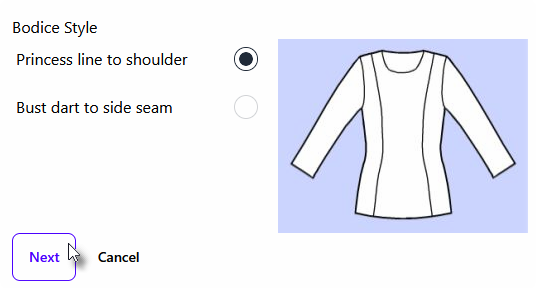
You can use either the princess line or standard front as a fitting shell.
Step 7
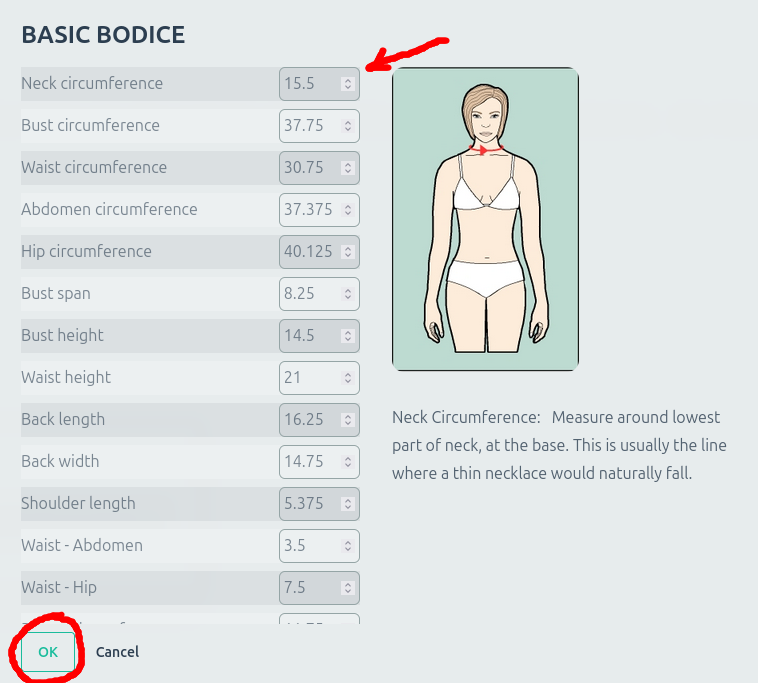
Enter your measurements. Notice that you can click on each measurement name to see a diagram for taking that measurement.
Step 8
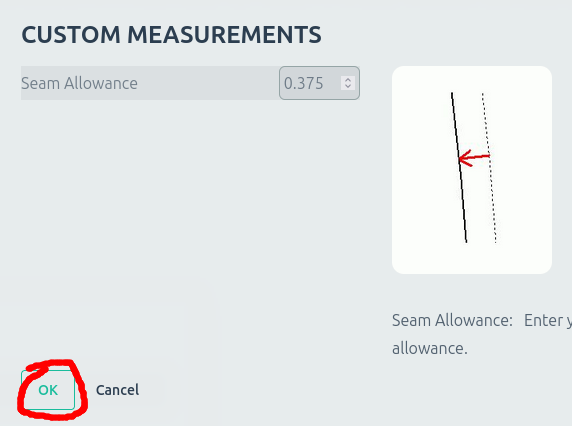
This dialog asks for seam width. Use the default width.
Step 9
Now the pattern is complete. Check the generated draft preview before exporting.
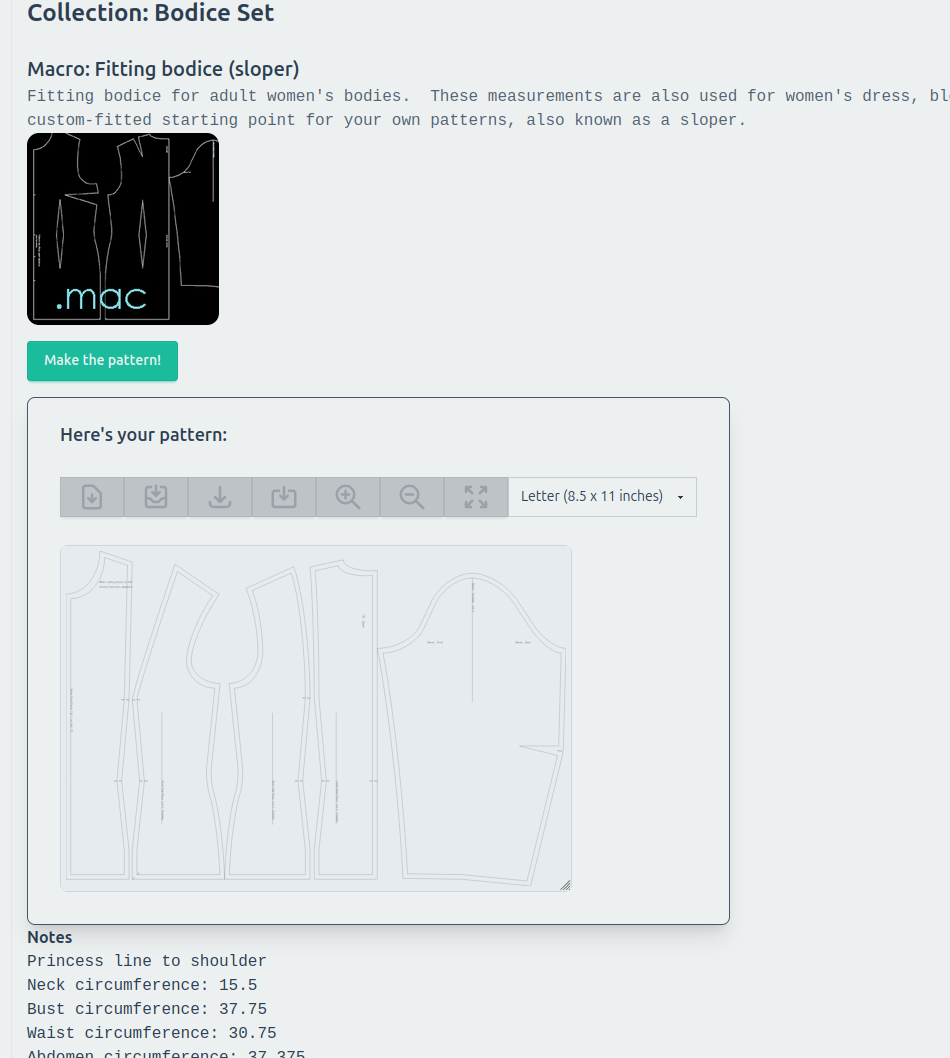
Step 10
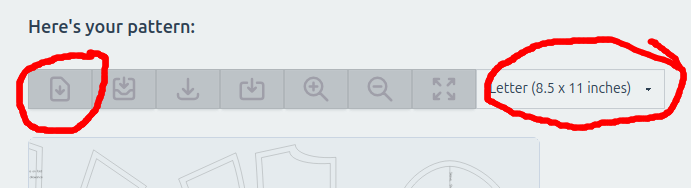
Select the page size your printer will print, then save the PDF and print.
Step 11
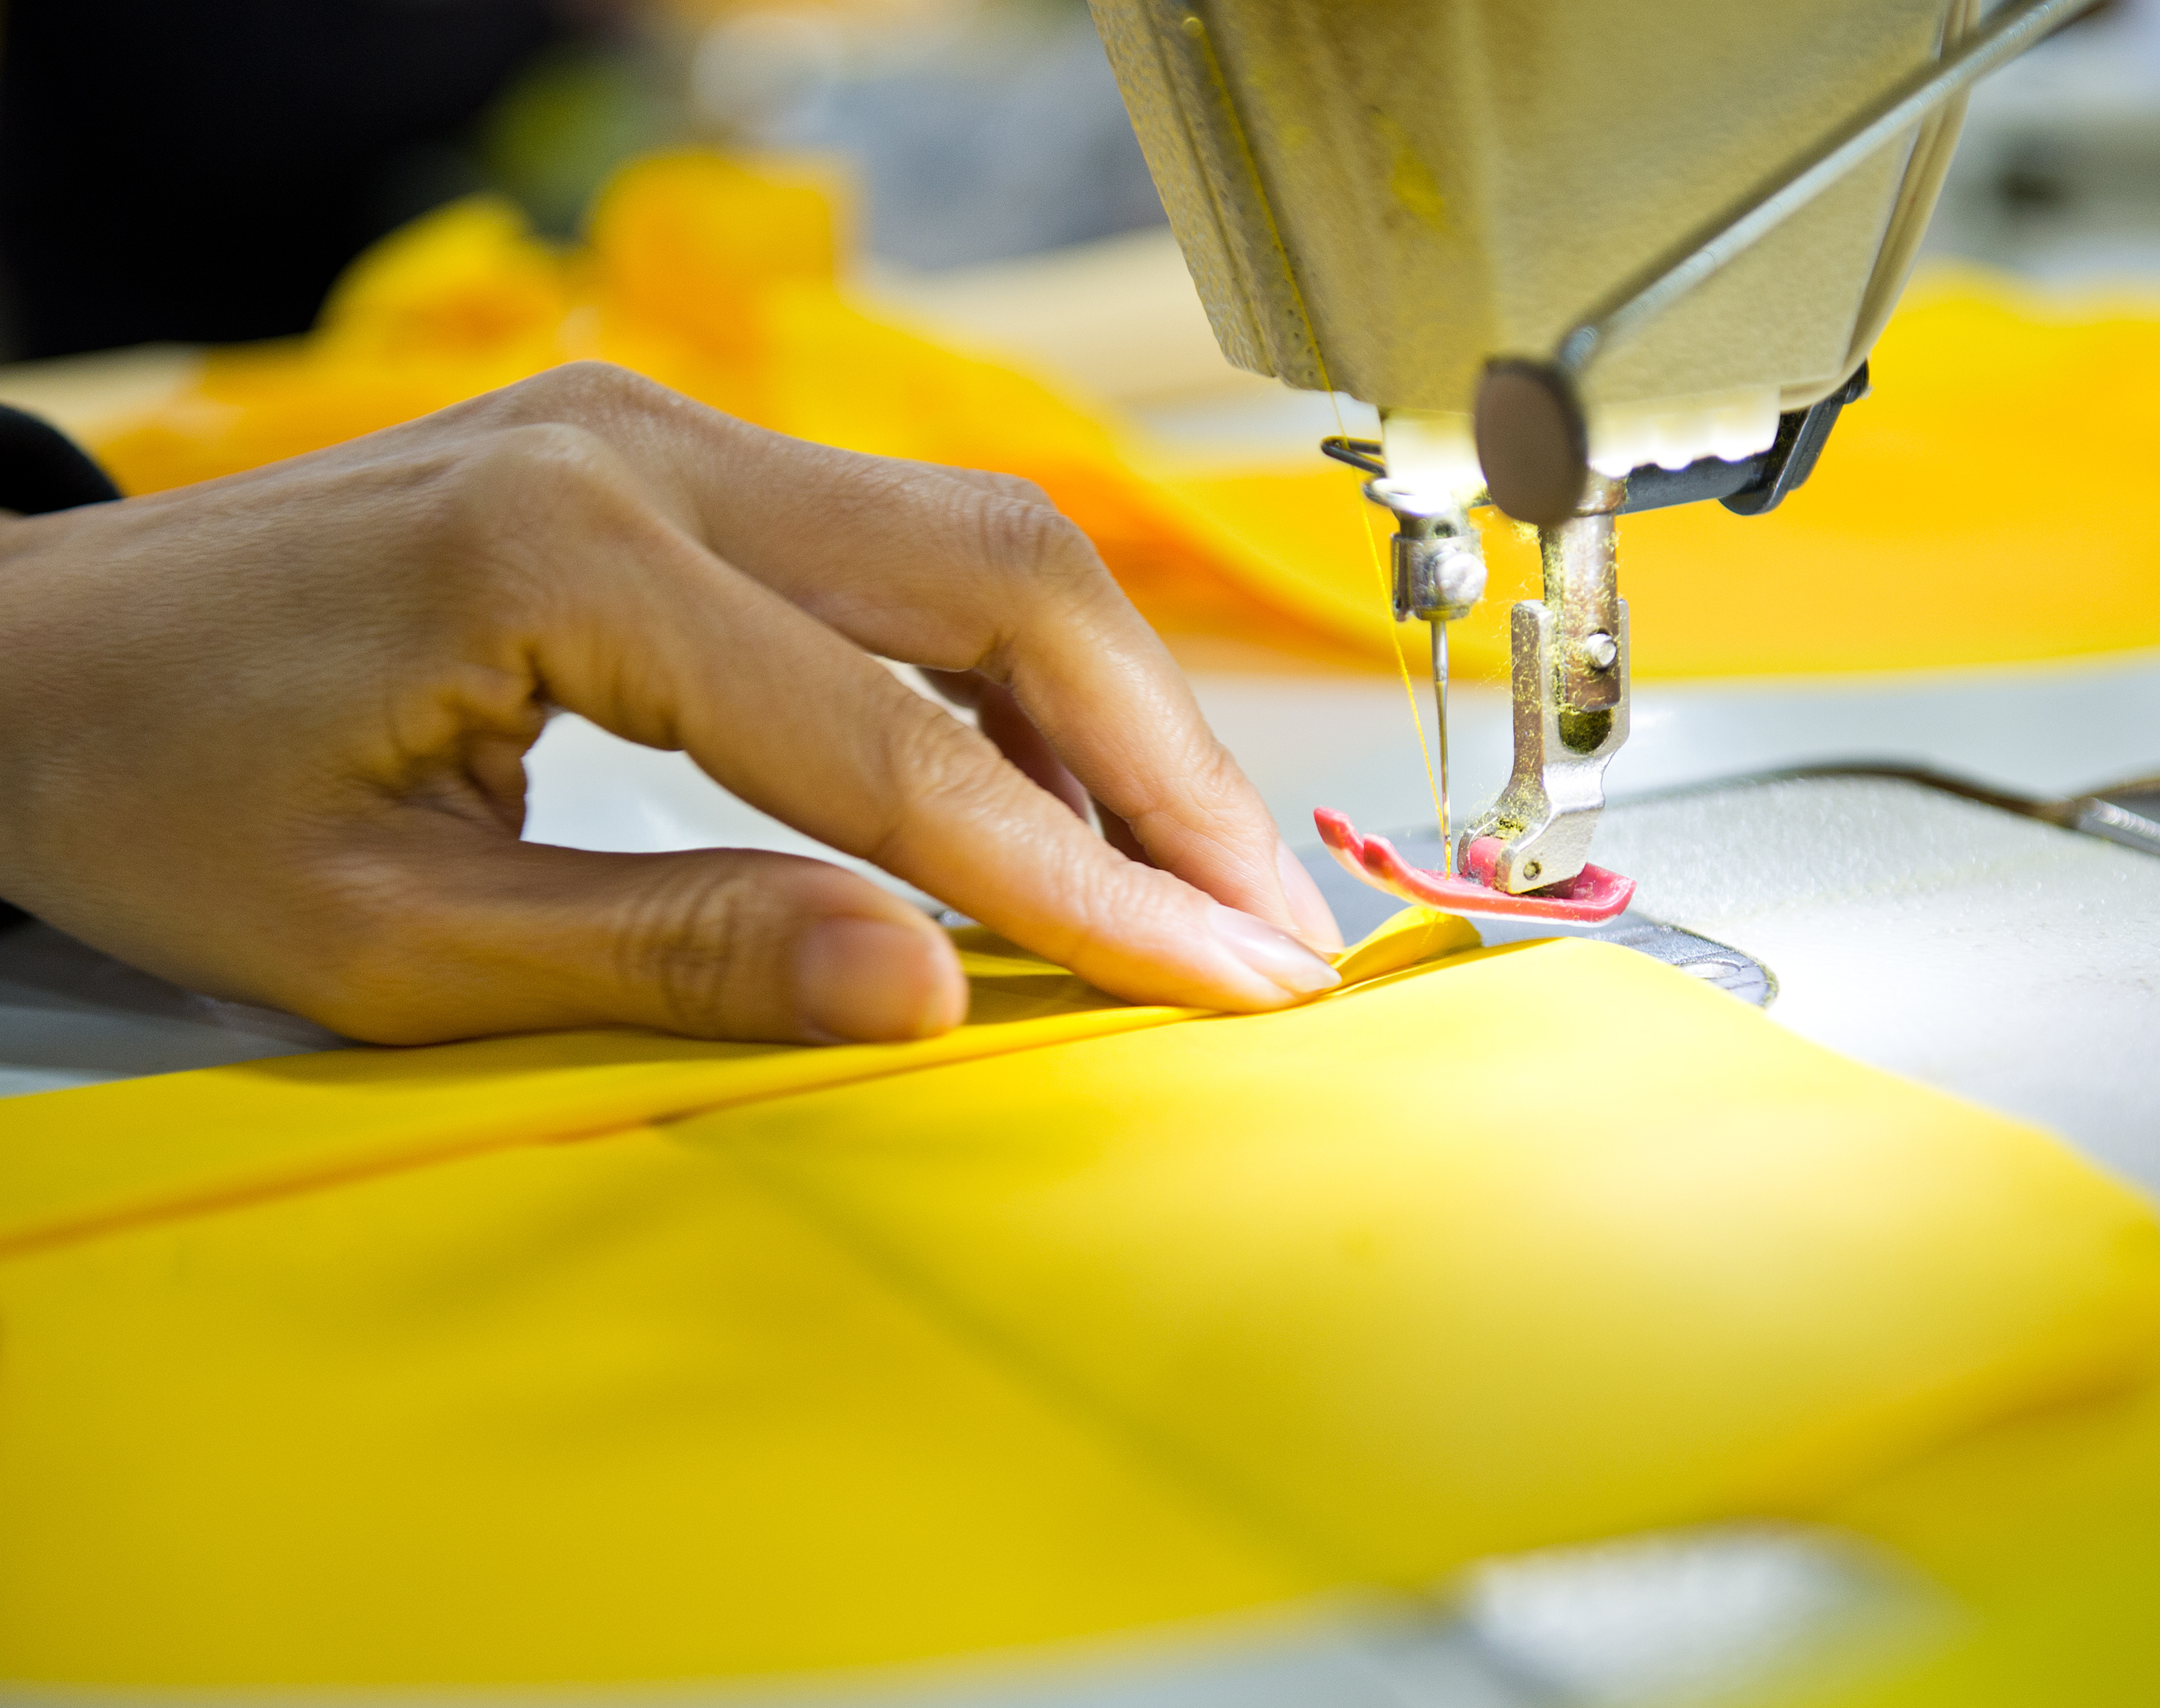
Try on the fitting bodice. It should fit like a second skin, without any ease. If you need to change any measurements, write down the new measurements and make another bodice.
Need help choosing measurements? See the measurements section on the home page.